
Good morning everyone and welcome to my very first webgems tech blog post! Today I am going to quickly share a neat trick that I am using while making a promotional graphic image. I will be creating a text-border or outline around text in the graphic so as to make it stand out and look more prominent. Lets dive in!
Downloading Gimp
First we will be using a free graphical software package called Gimp. It is very similar to other graphics software like Adobe Photoshop and Corel Draw. You can download Gimp here for Windows, Linux & Mac. I will be using gimp on Linux Mint 18 (Sarah).
Creating text-border outline
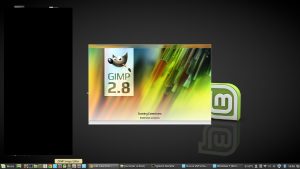
- First, we will open our background image in gimp. Open gimp from the start menu and drag your background image into Gimp.
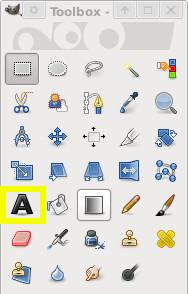
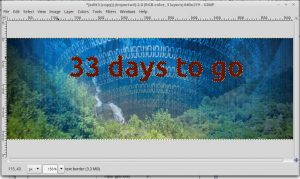
opening gimp - Next, select the text tool (shortcut T) and apply the text as required.
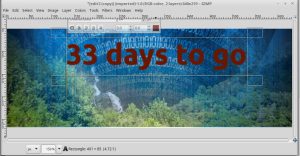
gimp text tool - Notice how the text is a bit hard to read on that background. Lets make it more legible by applying a white border outline.
unclear text - Highlight the text and right click. From the right-click menu select “Path from text”
- Go to the menu and select Layer then New Layer. Make the layer transparent and give it a name.
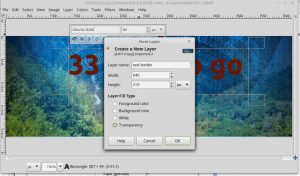
new layer gimp - Go to the menu and choose Select then From path. Your text will now be highlighted with ‘”marching ants”.
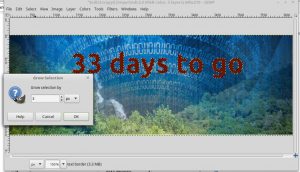
- Now go to the menu choose Select again and then choose Grow. Choose how wide you want your border. I made mine here 2px.
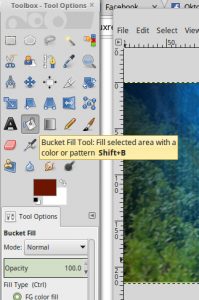
grow - Select the bucket tool (Shift+B). Choose the color your want for your outline. Use the bucket tool to fill the selected area.
bucket-tool 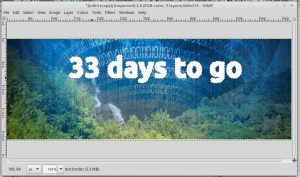
filled - De-select your selection. Ctrl+Shift+A or menu Select and None.
- Now use the layer box (Ctrl+L) and move the layer with the outline down. You should now have a nice outlined text.

done